iOS Mail
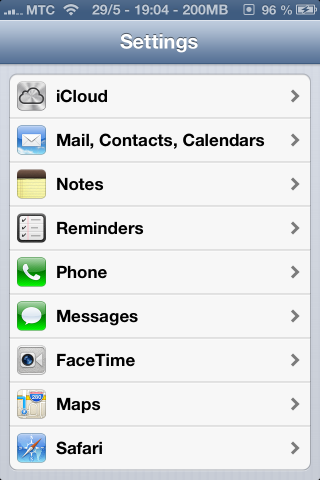
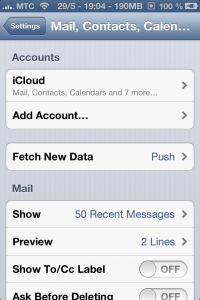
- Open the “Settings” app and select “Mail, Contacts, Calendars“.

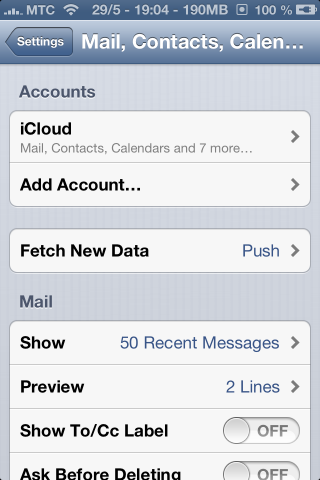
- Select “Add Account…”
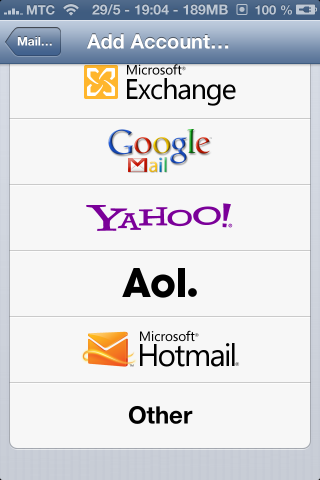
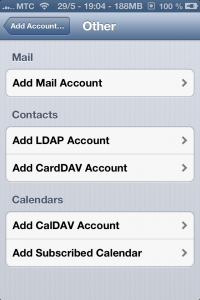
- Scroll down and select “Other”

- Under Mail select “Add Mail Account…”
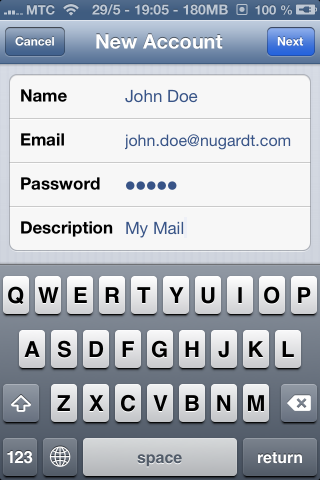
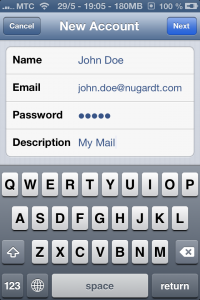
- Fill in the data and select “Next”
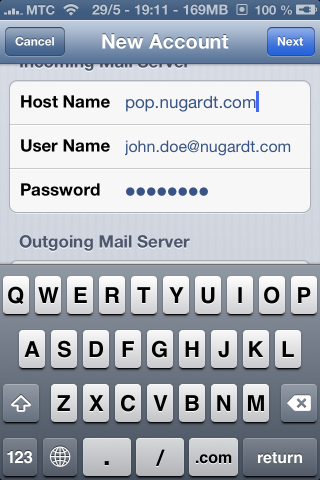
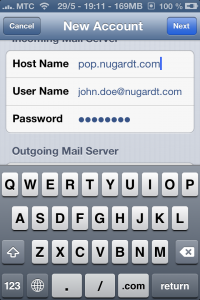
- Fill in the “Incoming Mail Server” details
Host Name: pop.nugardt.com OR pop.mydomain.tld
User Name: Your e-Mail Address
Password: Your Password
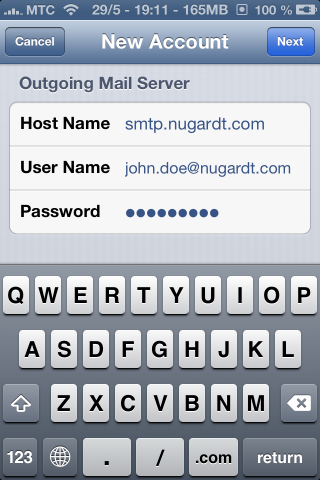
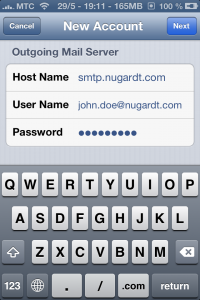
- Fill in the “Outgoing Mail Server” details
Host Name: smtp.nugardt.com OR smtp.mydomain.tld
User Name: Your e-Mail Address
Password: Your Password
- Select “Next” and the details are checked.
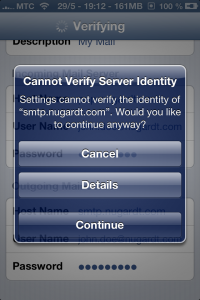
- Identity cannot be verified, select “Continue“.
This is because of the SSL certificate that is used by the server.
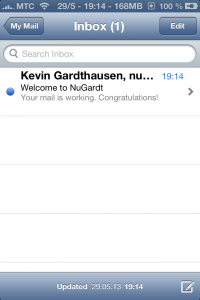
- Select “Save” and open the “Mail” app.